
Table of contents
Do you have a passion for photography and want to learn more about good colour management? You’ve probably heard about the need to calibrate your monitor. Let’s get one thing straight: if you’re content to share your photos on social networks without ever printing them, this article isn’t for you. But if, on the other hand, you’re planning to print your images like a true professional, then you’re going to get a lot out of this article.
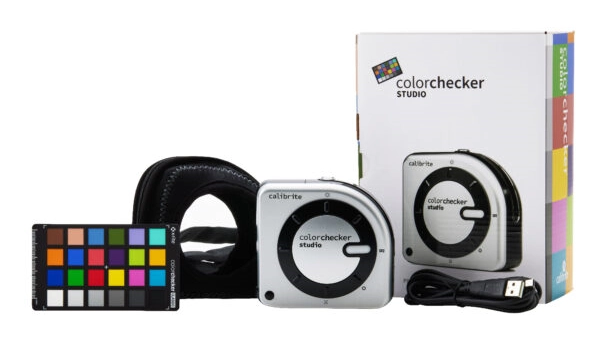
We’ve chosen to introduce you to Calibrite’s ColorChecker Studio because it’s a spectrophotometer that lets you calibrate your monitor and your printer-paper pairs. Today we’re going to confine ourselves to calibrating your monitor. As Arnaud Frisch wrote in his test bench: “This is not specifically “amateur” equipment, but professional quality equipment accessible to amateurs… it does what it does perfectly”.
Our aim is to provide you with clear, simple and precise content, without overwhelming you with too many theoretical explanations. This article is the fruit of our experience of using this calibration probe. We will guide you step-by-step through the calibration of your monitor.
Discover our series of articles on inkjet printing:
Before getting started
As we wrote in a previous article: “The calibration of your monitor is the keystone of your graphic chain. Your monitor should be your reference for the rest of your work.“
To produce prints that are faithful to what you see on your screen, there is no alternative but to invest in a colour calibration probe and set it up properly. When it comes to colour, trial and error is never a good option, otherwise you’ll soon be wasting more money on paper than a good probe costs.
The ColorChecker Studio has the advantage of being able to produce both an ICC profile for your screen and printer-paper pairs. It has the disadvantage of being more expensive than a simple colorimeter. It’s up to you to decide which tool you need. We’ll come back to this in a later article when we discuss our choice of printer. In any case, you’ll find the same kind of process with all probes.
To find out more: Colorimeter vs Spectrophotometer: what’s the difference?
Calibrite acquires X-Rite
In 2021, Calibrite acquired X-Rite, one of the market leaders in colour calibration. You can download a version of the driver compatible with your device from their website by clicking on this link: Calibrite – Software Downloads
Read carefully which devices are supported by the driver you choose, so that you get the version that matches your probe.
It’s easy to use, with good translations in several languages. We particularly recommend that you read the help that appears at each stage for each option. They are very well written and very clear.
Getting started
The ccStudio software will allow you to do two things for your monitor: calibrate it and then characterise it. On the software home page, click on the sensor type and then on Display.

Monitor and probe calibration
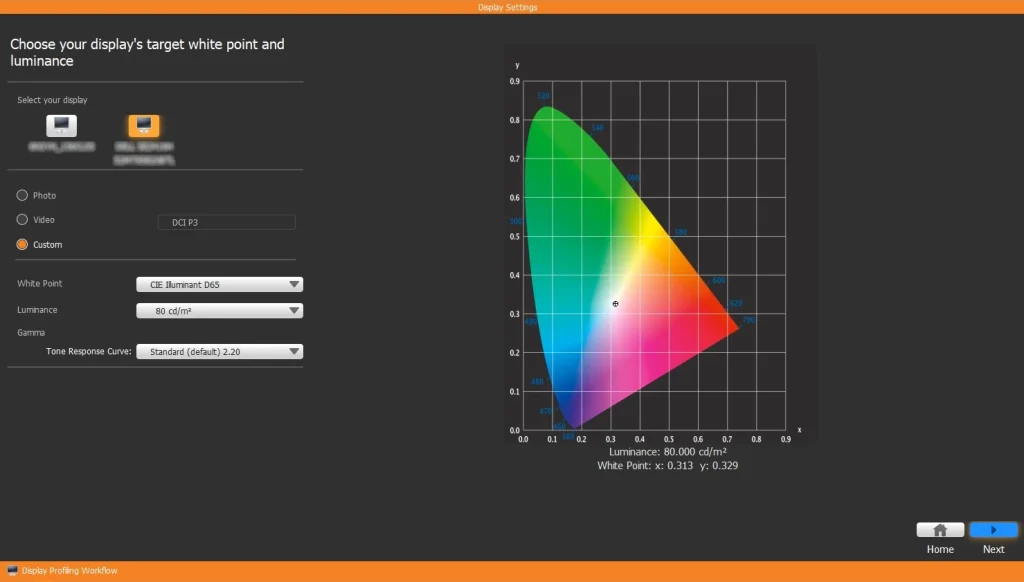
Before calibrating your monitor, we need to start with a bit of theory. Calibration involves choosing three reference values that will determine your workspace. You will choose the Custom option, as this is the only way to choose these three values yourself:
Brightness
If you work in a dimly lit environment, which is what we recommend, you should choose a value of 80 cd/m2. But if your workstation is in a bright space, you’d choose 120 cd/m2 instead. See our previous article to understand why a darkened environment is a better choice.
Contrast
This adjustment is made using gamma. Gamma measures the ratio of the light recorded to the light emitted by the object being photographed.
In general, photographers set it to the standard value of 2.2, while videographers work at between 2.4 and 2.6 for the simple reason that a film is best viewed in a darkened room, or even a cinema. A value of 2.2 means that the light recorded in the image is 2.2 times greater than the light emitted by the object you have photographed.
If you’d like to find out more about this concept, we’ll be writing an article on the subject shortly.
The white point
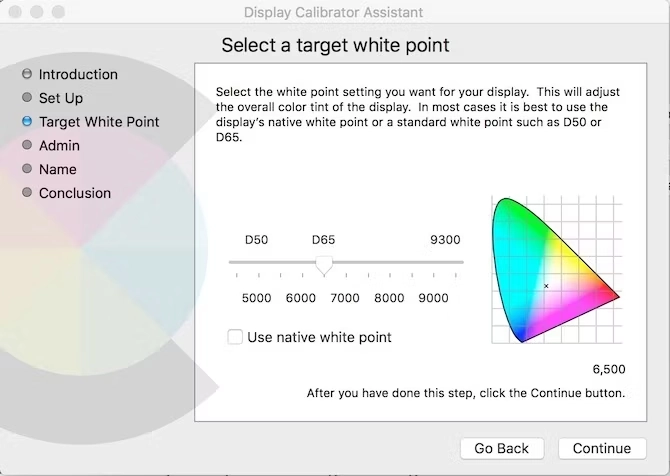
If you’re using a Mac, the native setting is 6500K or D65. You can see this by clicking on the apple at the top left of your screen, then going to System Preferences > Monitor > Colour > Calibrate. You’ll give this profile a name like iMac 2024-05-22.
If you are working with Windows, you will need to go to Settings, then Display and finally Advanced Display Settings. You will then need to select the Video Card Properties option for the display. Then click on the Colour Management tab, and in the next window on Screen Calibration.
Why use two calibration profiles?
If you are using specific settings for your web publications and don’t want to change them, we recommend that you use a second calibration set intended solely for print, so that you don’t have to make any compromises.
Remember also that if you change any of these values, you will also have to redo your characterisation and save it in a new ICC profile.
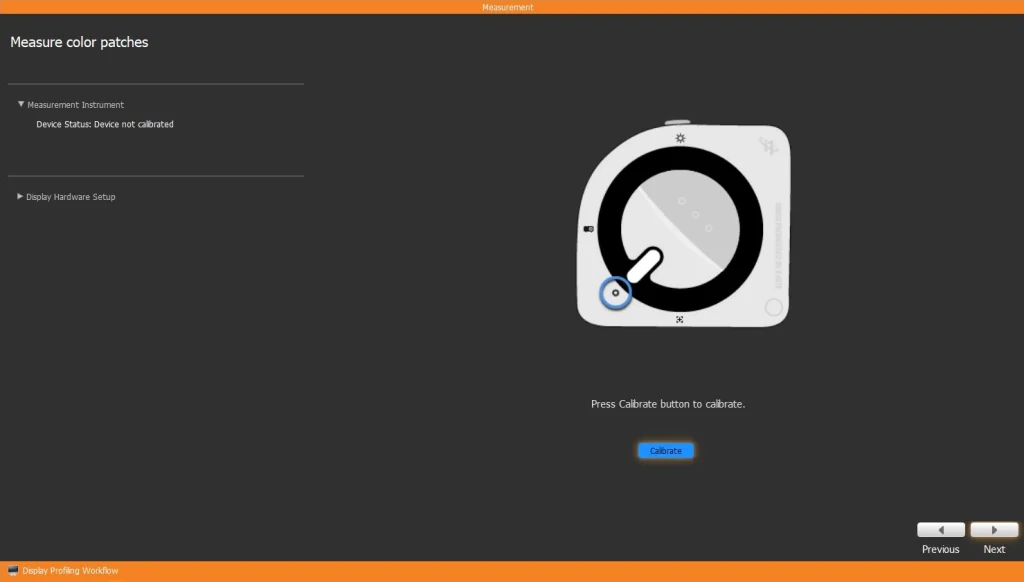
The last stage of calibration: the software will ask you to self-calibrate your spectrophotometer by turning the handwheel as shown in the illustration. Then click on the blue Calibrate button. This operation will take a few seconds.
The probe will measure a white ceramic square located inside the spectro, which will enable it to determine the measured value of a pure white, an essential reference before taking the measurements required for characterisation.
Then turn the wheel to return it to the measurement position for the screen, as instructed by the software.
Characterising your monitor
Don’t do this if your monitor hasn’t been on for at least thirty minutes, because even if you don’t notice any difference, the colours will be different if your monitor is cold. The probe will see this. If you’re using a Mac, you should also make sure that the screen brightness is not set to automatic mode, otherwise your screen display will change on its own depending on the atmosphere in the room.
As we explained in a previous article, every piece of equipment has some drift, including top-of-the-range screens. By reading a series of colour patches on your screen, your probe will determine the correspondence between the theoretical L*a*b value and the colour measured on your screen. This is how it will establish the ICC profile of your screen. This ‘translation’ will tell your computer what changes it needs to make to display the correct colour on your screen.
To do this, your spectrophotometer will measure 118 different colours. The data from this analysis will be recorded in the ICC profile, which will remain associated with your screen until you update it.
Only when you have completed this second operation can you consider your screen to be correctly set up.
- Tilt your screen as shown;
- Make sure that the spectro is flat on the surface of the screen to avoid stray light;
- Make sure your probe is in the middle of the test pattern. This is particularly important if your software window is not centred.

Then click on the Blue button below the colour chart to Start Measurement Process.

Don’t forget to open the shutter under the protective cover. Close it again after calibration to protect the sensor from dust. When this is done, click on the blue Next button in the bottom right-hand corner and save your ICC profile.
When you save the ICC profile, you will choose version 2 of the ICC profile if you are using Windows, whereas on a Mac it will be version 4. It is also on this page that you specify that the software should send you a calibration reminder in 1, 2, 3 or 4 weeks. Click Save Profile.
If you calibrate your printer, you do the same thing with a test pattern that you print on your printer. You will then obtain an ICC profile for the printer-paper pair. If you’re using two papers, you’ll do the same with each paper. The ICC profile of the printer/paper pair is used to convert the RGB values of your image into RGB values on your printer.
Adjusting your monitor's brightness manually
You’ll read about this in several of our articles: if your monitor has a manual brightness setting, be sure to note the exact value when you calibrate your monitor. Here’s a simple method that we recommend you apply at the start of each session working on your images.
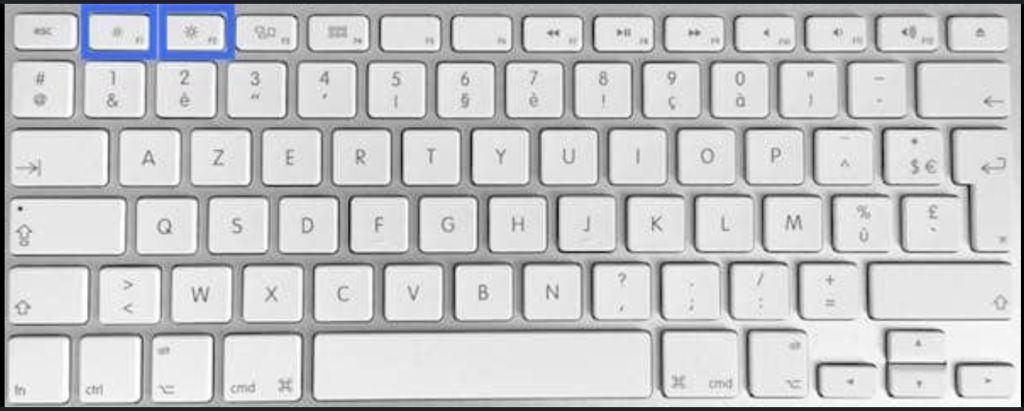
Be sure to count the number of notches that appear at the end of the calibration, as in the image below. You will need to update this setting if it has changed from one time to the next.
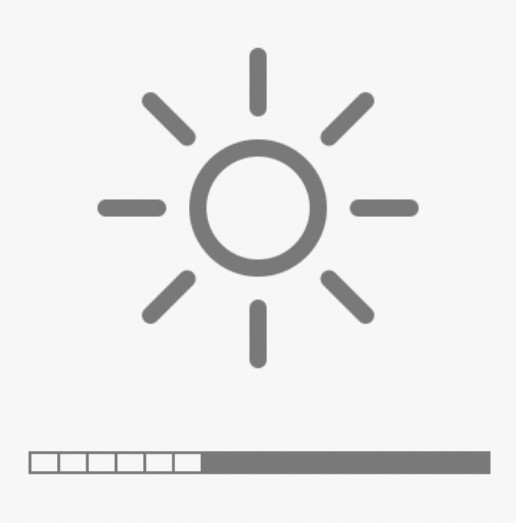
Using the buttons circled in blue, set the slider to zero, the screen goes black, then increase the brightness by counting each time you press the right button. This way you won’t have the unpleasant surprise of getting photos that are darker on paper than they appear on your screen.
Conclusion
Your screen is now correctly calibrated. And you’re ready for the next stage: printing. You are going to be rewarded for all this work, which is admittedly a little abstract. When you see the first photo come out of the printer, you’ll feel a great sense of satisfaction, similar to that felt by the oldest among us when their image appeared at the bottom of their developer tanks.


